
![Arduino Uno Pinout: A Comprehensive Guide for Beginners [DIY Examples]](https://www.itechbuilders.com/assets/images/slider/5047e054009787c9128d45554e25fc5c.webp)
Master your Arduino Uno! This detailed pinout guide explains digital, analog, power pins, and their functions. Learn how to use them with practical wiring examples and code.
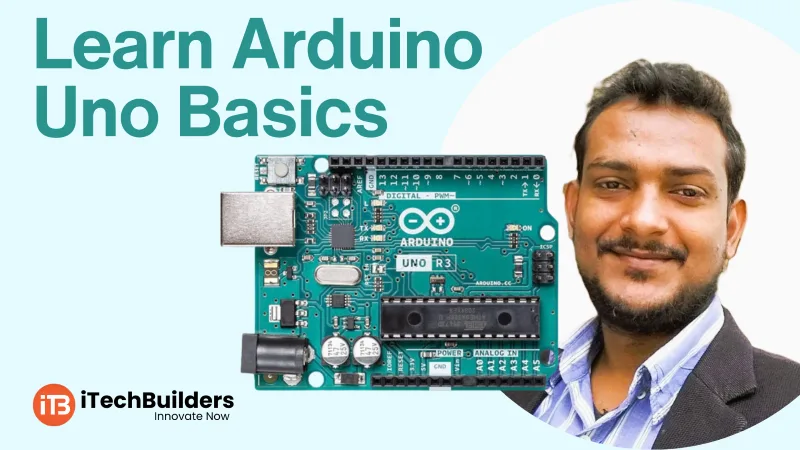
The Arduino Uno is the most widely used microcontroller board for DIY electronics, IoT, and embedded projects. With its versatile pin configuration, it enables students, hobbyists, and professionals to build innovative applications ranging from LED projects and sensor interfacing to robotics and automation.
From basic LED blinking to complex IoT solutions, Arduino Uno helps learners explore electronics, coding, and real-world automation. Students master sensor interfacing, PWM control, serial communication, and power management, preparing them for robotics, embedded systems, and industrial IoT.
iTechBuilders provides Arduino kits, pinout guides, and training so learners and startups can focus on building projects instead of troubleshooting wiring.
Need more? Expand with modules like Wi-Fi, Bluetooth, GSM, and sensors to create home automation, robotics, and industrial monitoring solutions.
// Example: Blink LED
void setup() {
  pinMode(13, OUTPUT);
}
void loop() {
  digitalWrite(13, HIGH);
  delay(1000);
  digitalWrite(13, LOW);
  delay(1000);
}
int led = 9;
int brightness = 0;
int fadeAmount = 5;

void setup() {
  pinMode(led, OUTPUT);
}

void loop() {
  analogWrite(led, brightness);
  brightness = brightness + fadeAmount;
  if (brightness <= 0 || brightness >= 255) {
    fadeAmount = -fadeAmount;
  }
  delay(30);
}
The Arduino Uno pinout opens endless possibilities in DIY electronics and IoT. Start small with LEDs and sensors, then expand to motors, wireless modules, and automation projects. With iTechBuilders’ Arduino kits and training, you’ll master embedded systems and unlock innovation step by step.
Comments
0