
- 2025-09-16
- Comments
Air Quality Monitoring System (25RSP111)
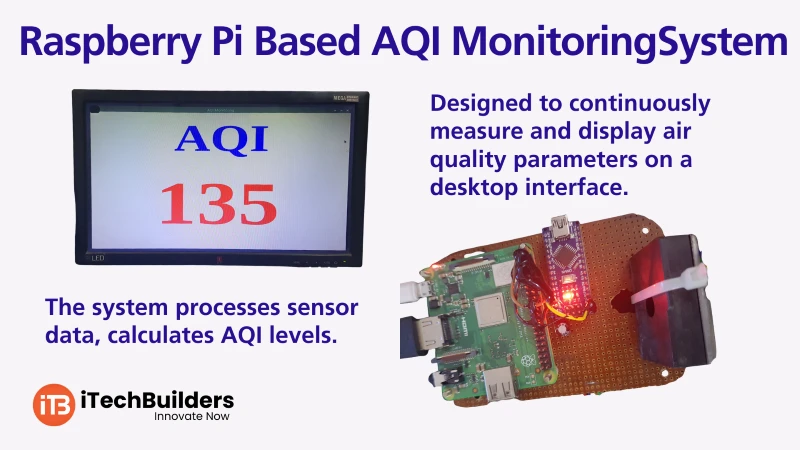
The Raspberry Pi AQI Monitoring System is a smart IoT project designed to measure and monitor air quality in real-time. Using Raspberry Pi for data processing and cloud integration, along with Arduino Nano for sensor interfacing, it provides an effective way to track pollutants, ensure health safety, and build smart environmental monitoring solutions.

“Raspberry Pi + Arduino Nano makes air quality monitoring smarter, efficient, and IoT-ready.”
Why Choose Raspberry Pi for AQI Monitoring?
- Real-time monitoring with cloud dashboards
- Seamless integration with IoT platforms (ThingSpeak, Blynk, Node-RED)
- Works with Arduino Nano for multiple sensor data collection
- Supports Python, C++, and IoT frameworks
- Low-cost, scalable, and energy-efficient
Key Features
- Raspberry Pi as central IoT hub
- Arduino Nano for MQ135, DHT11, and PM2.5 sensors
- Wi-Fi / Ethernet for cloud upload
- Data logging and visualization with Python scripts
- Threshold-based alerts for poor AQI
System Overview
The Raspberry Pi AQI Monitoring System uses Arduino Nano to read sensors like MQ135 (CO?, NH?, Benzene), DHT11 (temperature & humidity), and PMS5003 (PM2.5). Data is sent to Raspberry Pi via serial communication for processing, cloud upload, and dashboard visualization.
Sensors Used
- MQ135: Gas & CO? detection
- DHT11/DHT22: Temperature & Humidity
- PMS5003: PM2.5 & PM10 detection
- Optional: OLED Display for live AQI
Quick System Specs
- Microcontrollers: Raspberry Pi + Arduino Nano
- Communication: Serial (UART) + Wi-Fi
- Cloud Support: ThingSpeak / Blynk / Custom Dashboard
- Data Logging: CSV & Real-time graphs
- Power Supply: 5V (USB/adapter)
First Project: Display AQI Data
The basic project displays real-time air quality data on the serial monitor and optionally sends it to the Raspberry Pi for cloud upload.
Connections:
- MQ135 ? A0 (Arduino Nano)
- DHT11 ? D2 (Arduino Nano)
- PMS5003 ? Serial RX/TX (Nano)
- Arduino Nano ? Raspberry Pi via USB/Serial
Arduino Nano Code:
 #include <DHT.h>
#define DHTPIN 2
#define DHTTYPE DHT11

DHT dht(DHTPIN, DHTTYPE);
int mq135Pin = A0;

void setup() {
  Serial.begin(9600);
  dht.begin();
}

void loop() {
  int gasValue = analogRead(mq135Pin);
  float h = dht.readHumidity();
  float t = dht.readTemperature();

  Serial.print("Gas: ");
  Serial.print(gasValue);
  Serial.print(" | Temp: ");
  Serial.print(t);
  Serial.print("°C | Humidity: ");
  Serial.println(h);
  delay(2000);
}
Learning Outcomes:
- Learn how to interface sensors with Arduino Nano
- Send sensor data to Raspberry Pi for IoT integration
- Understand AQI basics and pollutant thresholds
- Visualize AQI data on cloud dashboards
Next Steps & Applications
After the basic AQI display, the system can be upgraded to cloud storage, web dashboards, and mobile apps. Advanced versions include air purifiers, smart alerts, and home automation integration based on AQI levels.
Get Started with Raspberry Pi at iTechBuilders
iTechBuilders provides Raspberry Pi kits, tutorials, and IoT mentorship for students, schools, and hobbyists. Whether you are starting from basics or building advanced environmental IoT projects, we offer DIY kits, workshops, and project guidance. Contact us to kickstart your AQI monitoring journey today!
