- 2025-09-18
- Comments
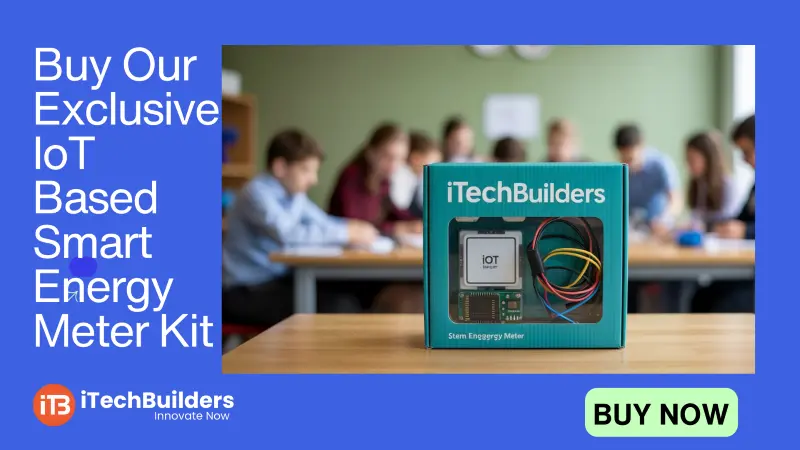
IoT-Based Smart Energy Meter (25IOT101)
The IoT Based Smart Energy Meter is an innovative project that allows users to monitor electricity usage in real-time. It integrates IoT technology with sensors and microcontrollers to measure power consumption and send data to a cloud server or mobile app. This makes it easier for homeowners, industries, and utility providers to track energy usage and optimize efficiency.

“IoT Based Smart Energy Meter brings transparency in electricity usage and helps in saving power & cost.”
Why Build a Smart Energy Meter?
- Monitor electricity usage in real-time
- Send consumption data to cloud/mobile app
- Reduce electricity bills with better monitoring
- Prevent energy theft and unauthorized usage
- Supports IoT dashboards and alerts
Key Features of Smart Energy Meter
- Microcontroller: ESP32 / NodeMCU
- Energy Sensor: Current Transformer (CT) sensor
- Wi-Fi enabled for IoT data transfer
- Data logging on cloud (Blynk/Thingspeak/MQTT)
- Real-time monitoring via mobile app
Smart Energy Meter Pinout Basics
The IoT Energy Meter connects a CT sensor to measure current and a microcontroller (ESP32/NodeMCU) to process and send the data to cloud.
Main Connections
- CT Sensor Output ? Analog Pin (A0)
- Wi-Fi Module ? ESP32/NodeMCU built-in
- Power Supply ? 5V/3.3V
- Cloud Server ? Blynk / Thingspeak / MQTT broker
Quick Specs
- Current Measurement Range: 0–30A (depending on CT)
- Cloud Connectivity: Wi-Fi (IoT enabled)
- Operating Voltage: 3.3V/5V
- Communication Protocols: MQTT, HTTP, Blynk API
First Project: IoT Smart Energy Monitoring
In this project, the CT sensor measures current and sends it to ESP32/NodeMCU, which then uploads the data to a cloud dashboard for real-time monitoring.
Connections:
- CT Sensor Output ? Analog Pin A0
- ESP32/NodeMCU connected to Wi-Fi
- Data uploaded to Thingspeak/Blynk Dashboard
Code:
// IoT Smart Energy Meter Example
#include
#include

const char* ssid = "YourWiFi";
const char* password = "YourPassword";
unsigned long channelID = YOUR_CHANNEL_ID;
const char* writeAPIKey = "YOUR_API_KEY";

WiFiClient client;

int sensorPin = 34; // CT sensor on analog pin
int sensorValue = 0;

void setup() {
  Serial.begin(115200);
  WiFi.begin(ssid, password);
  while (WiFi.status() != WL_CONNECTED) {
    delay(1000);
    Serial.println("Connecting to WiFi...");
  }
  ThingSpeak.begin(client);
}

void loop() {
  sensorValue = analogRead(sensorPin);
  float current = (sensorValue * 3.3 / 4095.0); // Example calculation
  Serial.println(current);

  ThingSpeak.setField(1, current);
  ThingSpeak.writeFields(channelID, writeAPIKey);
  delay(15000); // Upload every 15 sec
}
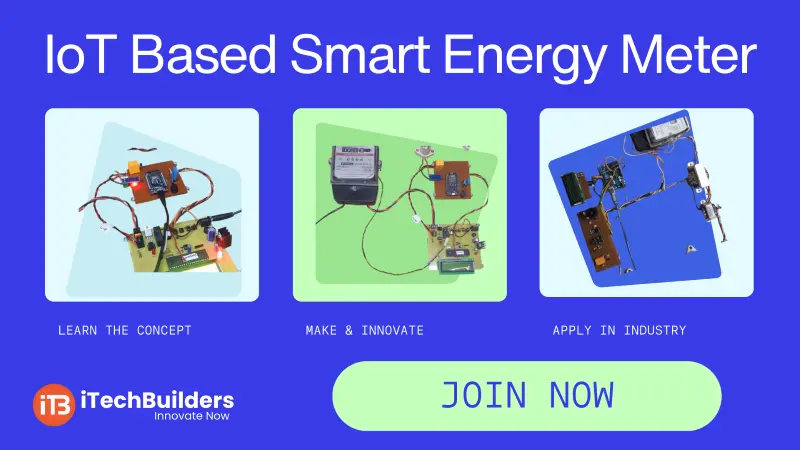
Learning Outcomes:
- Understand how to interface a CT sensor
- Learn IoT data transfer with ESP32/NodeMCU
- Explore cloud integration using Thingspeak/Blynk
- Build a real-world energy monitoring project
Next Steps & Applications
After building a basic IoT energy meter, you can expand it into smart billing systems, home automation, energy theft detection, and industrial power monitoring. This project provides a strong foundation for IoT, embedded systems, and smart grid solutions.
Get Started with IoT Projects at iTechBuilders
iTechBuilders offers IoT project kits, tutorials, and training programs for students, makers, and industries. Whether you are a beginner or advanced learner, we provide hands-on IoT learning, workshops, and project mentorship. Contact us to build your IoT journey today!