

- 2025-09-19
- Comments
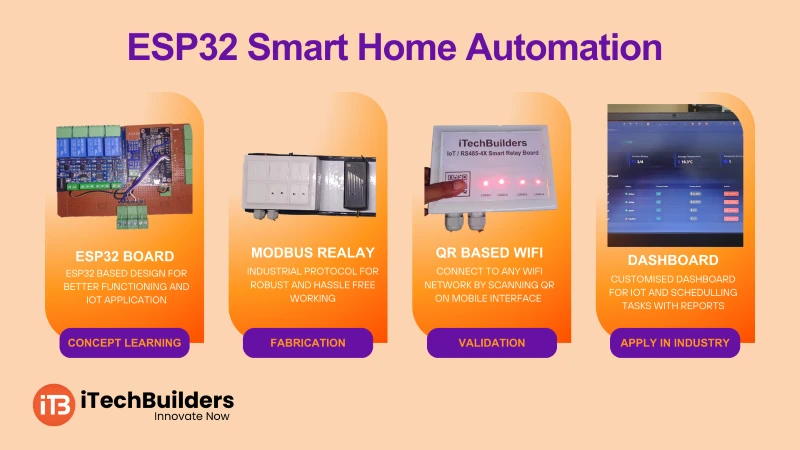
ESP32 Smart Home Automation (25ESP101)
The ESP32 Smart Home Automation Project uses the ESP32 microcontroller with MODBUS protocol to control and monitor devices like lights, fans, and sensors. It provides an efficient and professional way to implement IoT-enabled automation, widely used in homes, industries, and smart buildings.

“ESP32 with MODBUS makes smart home automation reliable, scalable, and industry-ready.”
Why Use ESP32 for Home Automation?
- Built-in Wi-Fi + Bluetooth for IoT integration
- Supports MODBUS RTU/TCP for industrial-grade automation
- Multiple GPIO pins for relays, sensors, and actuators
- Low-cost yet powerful dual-core processor
- Easy to program using Arduino IDE
Key Features
- Protocol: MODBUS RTU/TCP
- Relay Control: Lights, Fans, Appliances
- Sensor Inputs: Temperature, Humidity, Motion
- Wi-Fi Dashboard + MODBUS Communication
- Supports integration with SCADA/PLC systems
ESP32 MODBUS Basics
MODBUS is an industrial communication protocol that allows controllers, sensors, and actuators to exchange data reliably. ESP32 supports both MODBUS RTU (Serial) and MODBUS TCP (Ethernet/Wi-Fi), making it ideal for IoT-based home automation and industrial control.
Devices You Can Control
- Lights & Fans
- Smart Plugs & Relays
- Door Locks & Security Systems
- Air Conditioning & HVAC
- Garden Irrigation Systems
Quick Specs
- Protocol: MODBUS RTU/TCP
- Operating Voltage: 3.3V
- Relay Output: 5V/12V driver circuits
- Wi-Fi Based Control + Serial Bus
- Arduino IDE with MODBUS library
First Project: Control a Light via MODBUS
This project demonstrates controlling a home light using ESP32 via MODBUS RTU protocol. A relay module is connected to ESP32 to switch the light ON/OFF.
Connections:
- Relay Module IN ? GPIO 4
- Relay VCC ? 5V, GND ? GND
- Light Bulb connected to Relay Output
Code:
// ESP32 Smart Home Light Control with MODBUS RTU
#include

ModbusRTU mb;
const int relayPin = 4;

bool cb(Modbus::ResultCode event, uint16_t transactionId, void* data) {
  return true;
}

uint16_t coils[1];

void setup() {
  pinMode(relayPin, OUTPUT);
  Serial.begin(9600);
  mb.begin(&Serial2, 16);  // Use Serial2 with DE/RE pin = GPIO16
  mb.slave(1);             // Set ESP32 as MODBUS slave ID = 1
  mb.addCoil(0, relayPin); // Coil at address 0
}

void loop() {
  mb.task();
  digitalWrite(relayPin, coils[0] ? HIGH : LOW);
}
Learning Outcomes:
- Understand MODBUS RTU communication
- Learn relay interfacing with ESP32
- Control appliances via coils/registers
- Build scalable home automation networks
Next Steps & Applications
After controlling lights, you can expand the system to multi-room automation, energy monitoring, and security integration. Using MODBUS TCP, the ESP32 can also connect to cloud dashboards and mobile apps for remote control.
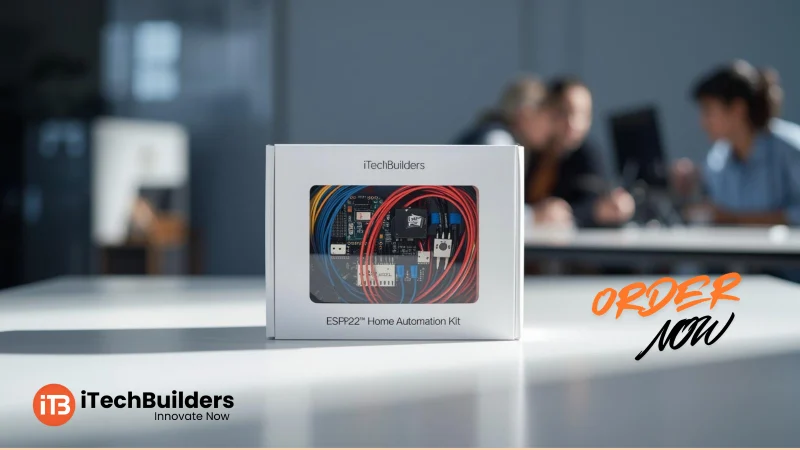
Get Started with ESP32 Smart Home Automation at iTechBuilders
iTechBuilders provides Smart Home Kits, tutorials, and guidance for students, hobbyists, and professionals. Whether you want to automate a single room or build a scalable smart building project, we offer DIY kits, workshops, and mentorship. Contact us to start building your smart automation system today!
GAURAV SRIVASTAVA
Nice project